Setting up and using a Relay for the first time
Setting up and using a Relay for the first time is easy and only takes a few minutes. You will need the Device ID and Passphrase that came with your Relay to complete the setup process. You should keep the Device ID and Passphrase in a safe place. You will also need an Android or iOS mobile phone.
A – Registering your account and device
- Go to https://relay.foundrytechnologies.com and click the link to register a new account (“Not yet registered? To register a new Relay account, click here.”)
- Register a new account using your name, email address, and password. Choose a secure password different than your device ID or passphrase.
- After you complete the registration process, login to your new account at https://relay.foundrytechnologies.com.
- Click the link on the left to “Register New Device”. Register your new device using your Device ID and Passphrase which came with your Relay. At this stage you will assign a “Pretty Name” of your choice to your device, which is an easy name to remember the device by. For example “Doorway Relay” or “Office Door Relay.”
B – Connecting your Relay to your wifi network
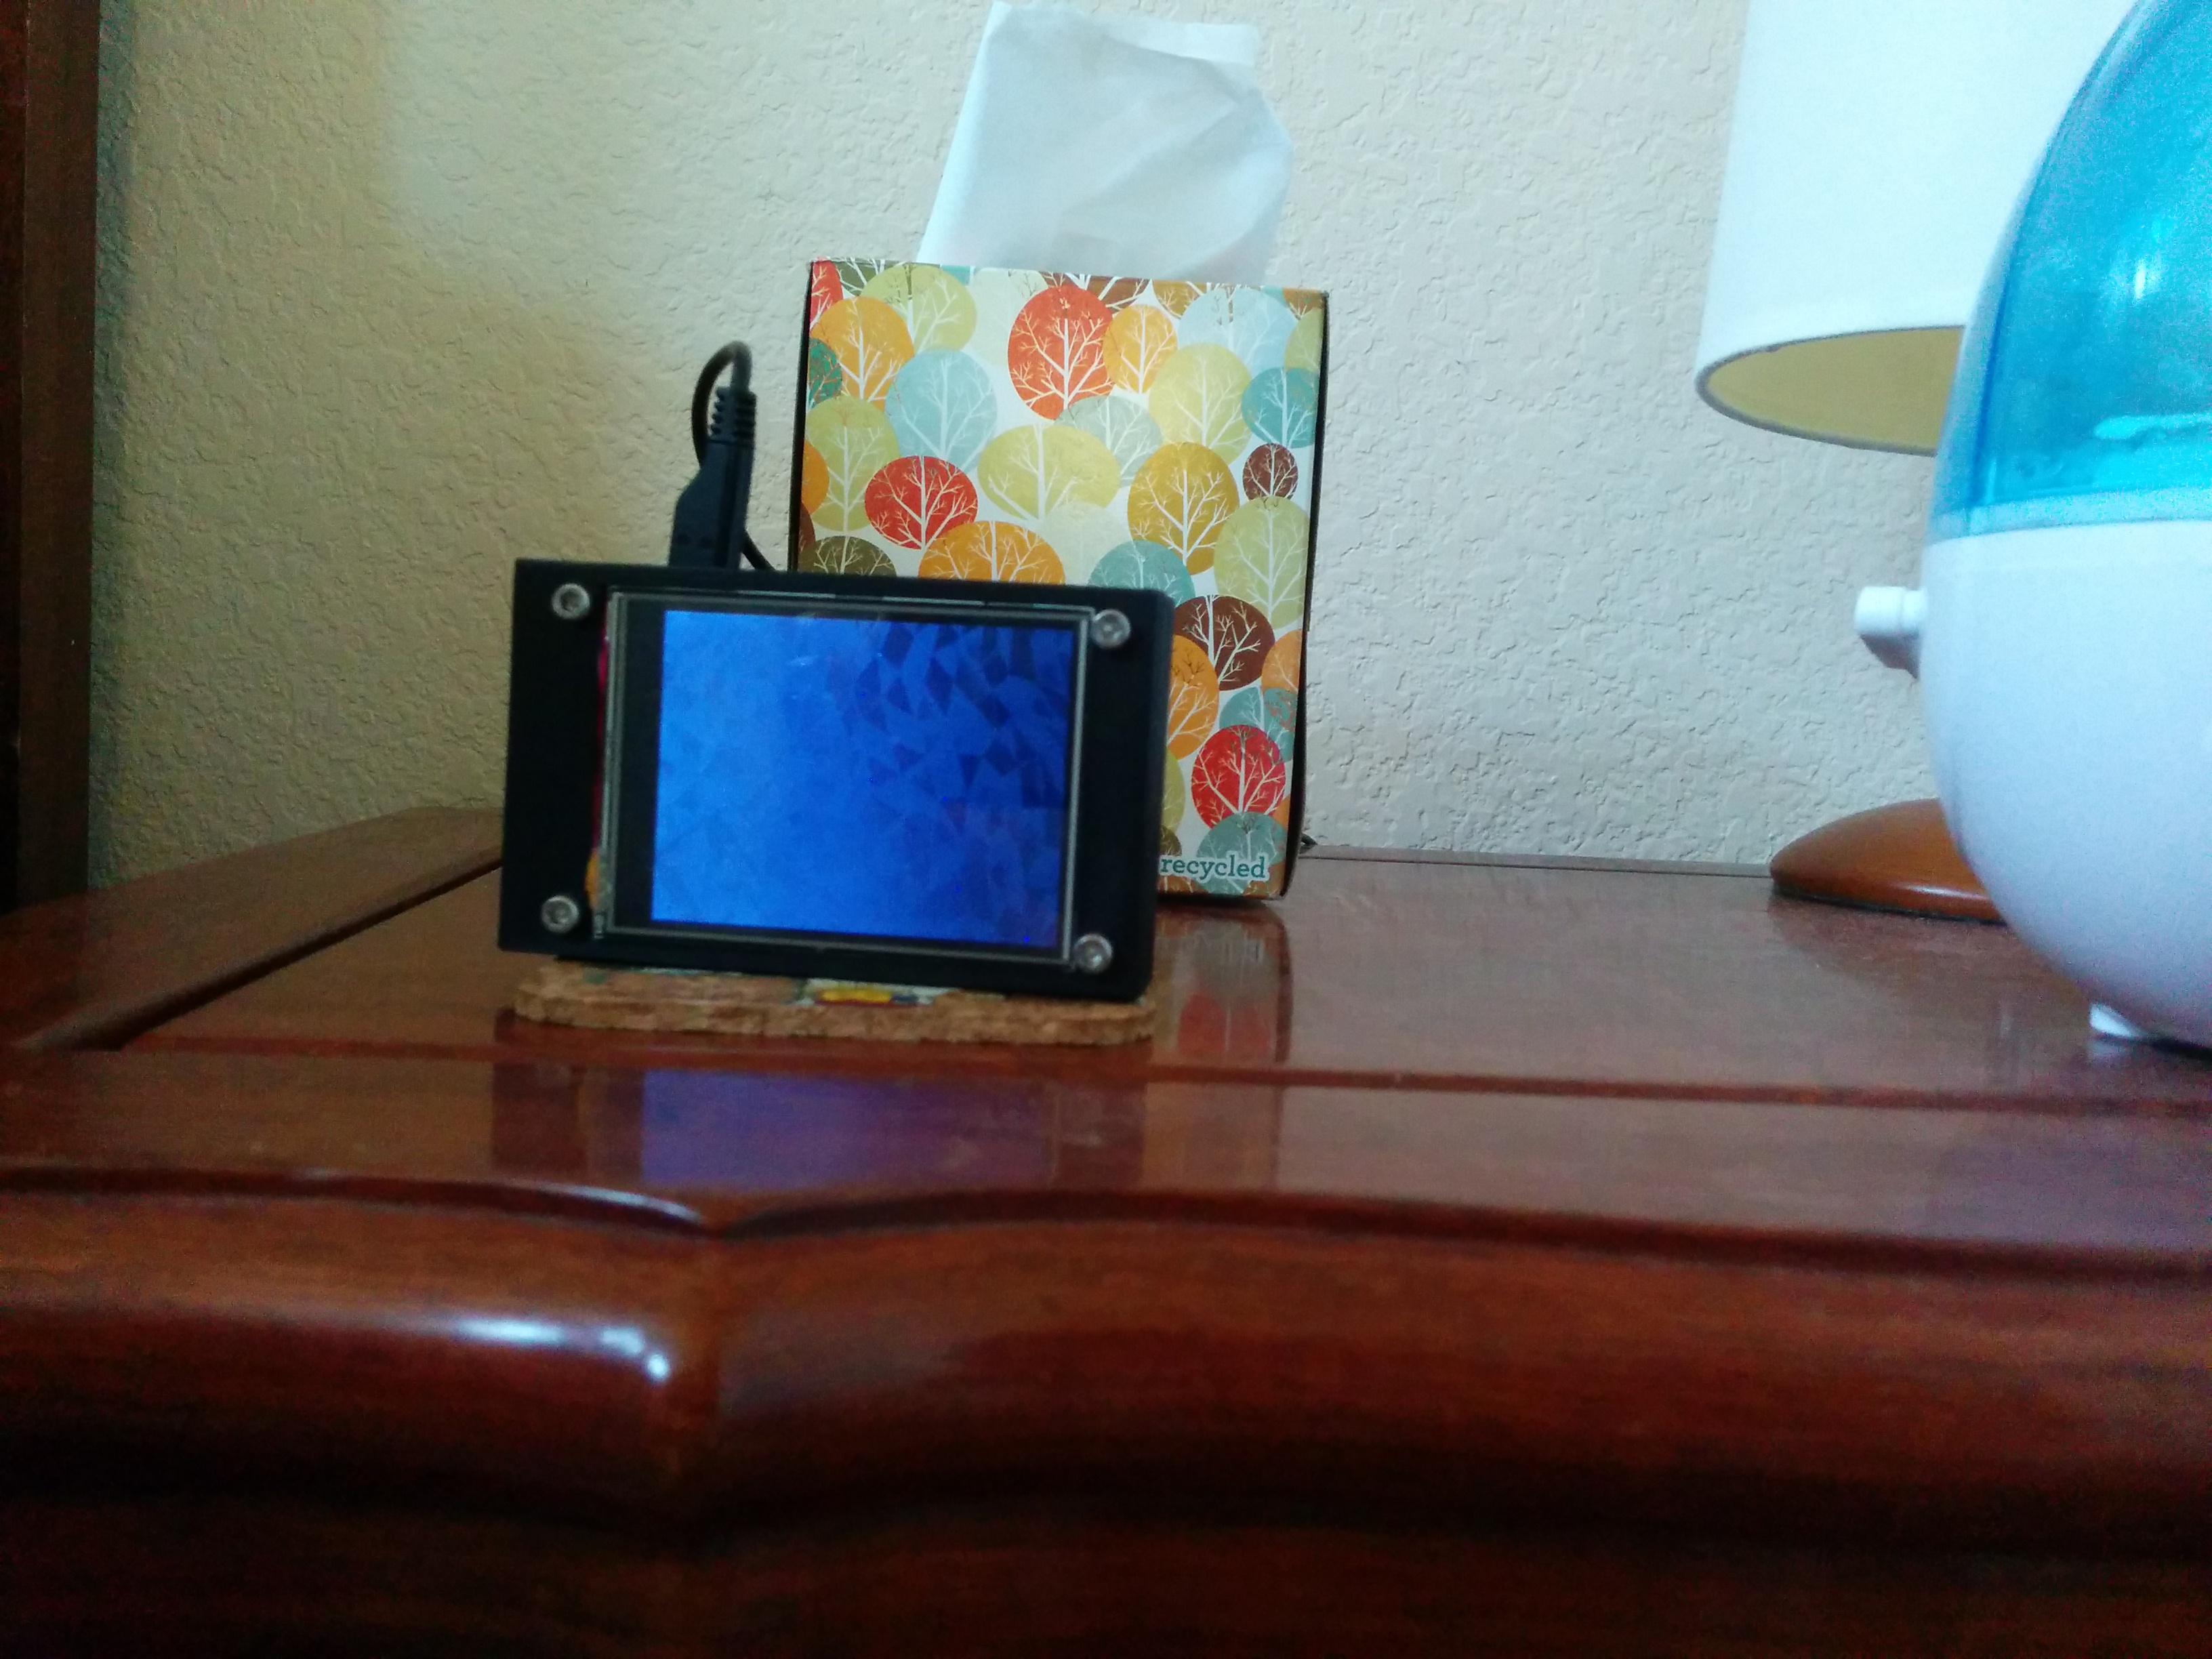
- Plug in your Relay to the microUSB power supply. You should see a message on its screen that indicates it is awaiting wifi setup.
- On your mobile phone, go to Wifi settings and connect to the open access point “RelayAP” which you should see there. Your mobile phone should then prompt you to sign in to the network. Sign in to that access point by clicking the prompt on your mobile phone. (Note: On some phones the prompt won’t be visible. If you don’t see any prompt to sign in to the access point after connecting to access point RelayAP, open your phone browser instead and connect to web address http://192.168.4.1).
- Choose the “Configure WiFi” option on your mobile phone. Select the WiFi network you’d like your Relay to connect to and enter your wifi network password. Click save.
- Your Relay now knows your wifi access point and password and is able to connect to them. It should restart automatically (if it does not, you can always reset your Relay by unplugging it, and plugging it in again).
Note: If you did not register your device as described in Section A above, the screen on your Relay will show as “Inactive Device” after it connects to your wifi. Simply complete the steps under Section A to correct this. If you did complete the steps in Section A, the message should change to one indicating that no messages or images have been assigned to it yet. See Section C on how to correct that.
C – Using your Relay
- Login to your account at https://relay.foundrytechnologies.com if you are not already logged in.
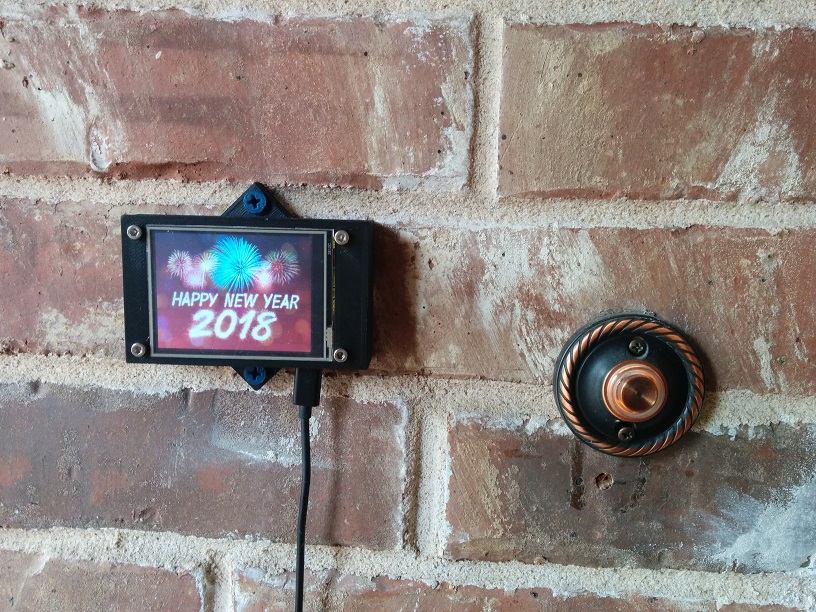
- You can assign new messages to be displayed on your Relay by using the “Create New Message” option. You can see messages you have already created by using the “List/Edit Your Messages” option.
- Similarly you can upload images to your Relay using the “Upload New Image” option and see images you have uploaded using the “List/Edit Your Images” option.
- Note that if you assign both a message and an image to the same Relay, the Relay will always give priority to displaying the message. Images are only displayed if the Relay has no messages to display.
- Every 5 minutes your Relay will check in with our server to update to the message/image you’d like it to display. You can control your Relay from anywhere on earth by logging in to your account and setting the messages/images you’d like.
Note: If the image or message on your Relay is rotated the wrong way round, go to “List Your Devices” and use the option to change your screen rotation there to correct it.


